
How to install Jupyter Notebook on Ubuntu 18.04/ 20.04 to practice Python, Julia, R, Haskell, and Ruby. This article will guide you on how to install Jupyter Notebook on Ubuntu 20.04 LTS. Here we show you very simple ways to install Jupyter on Ubuntu 20.04 LTS or other Ubuntu-based Linux Distributions. You can follow the same instructions for Ubuntu 18.04, 16.04, and any other Debian-based distribution like Linux Mint, Elementary OS, Zorin OS, and POP! OS.
Jupyter is an open-source web application, and it is used primarily for working with data, statistical modeling, and machine learning. It lets you create and share interactive code, visualizations, etc. Jupyter is a next-generation notebook interface, and it can be used with several programming languages, like Python, R, Haskell, Julia, Ruby, and Scala.
Install Jupyter Notebook on Ubuntu
The following steps are to install Jupyter Notebook on your Ubuntu systems.
Step 1. Update and Upgrade Packages
Run the following command to update available packages and their versions. And the upgrade command to install newer versions of the packages.
sudo apt update && sudo apt -y upgradeStep 2. Install Python virtualenv
We can use Python’s virtual environment to manage our projects. We will install Jupyter into this virtual environment.
Upgrade pip version and install Python virtualenv package by typing:
sudo -H pip3 install --upgrade pip
sudo -H pip3 install virtualenv
Step 3. Create Python Virtual Environment
After installing virtualenv, let’s start forming our environment. Let’s create a directory in your home directory (or any other location).
mkdir notebookNow let’s go to the notebook directory and create a Python virtual environment called jupyterenv.
cd notebook
virtualenv jupyterenv
Now we have to activate the virtual environment.
source jupyterenv/bin/activateStep 4. Install Jupyter Notebook
With your virtual environment active, install Jupyter by the following command.
pip install jupyterStep 5. Run Jupyter Notebook
Now you have everything you need to run Jupyter Notebook, run Jupyther buy the following command:
jupyter notebook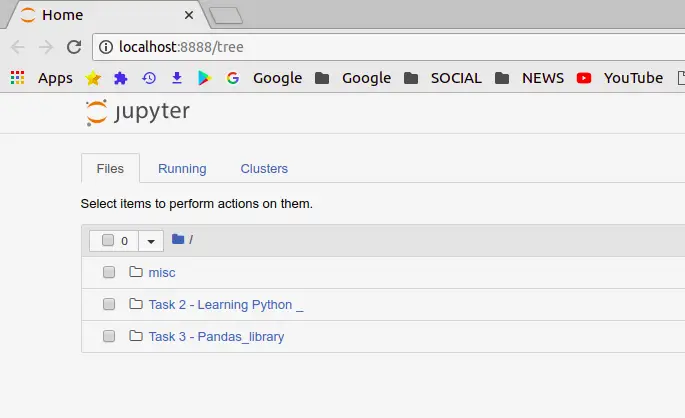
How do I run a Jupyter Notebook in Ubuntu?
To launch Jupyter Notebook:
- Open your terminal window
- Go to your notebook directory or you can simply follow
cd notebookcommand. - Activate virtualenv command:
source jupyterenv/bin/activate. - Start Jupyter Notebook command:
jupyter notebook
cd notebook
source jupyterenv/bin/activate
jupyter notebook
Step 6. Create Jupyter Application Menu.
Now create a new file called run-jupyter.sh in your Jupter notebook directory:
#!/bin/bash

source /home/username/jupyterenvironment/bin/activate
jupyter notebook
The next step is to go to the /usr/share/applications directory and create a file named jupyter.desktop with the code below to create an application menu item:
[Desktop Entry]
Name=Jupyter Notebook
Exec=/home/username/notebook/run-jupyter.sh
Type=Application
Terminal=true
Congratulations! You have successfully installed Jupyter Notebokon your ubuntu system. Thanks for using this tutorial to install Jupyter Notebook on Ubuntu 20.04 LTS system. For additional help or useful information, we recommend you check the official Jupyter website.